
theSLAYER
-
Posts
22932 -
Joined
-
Last visited
-
Days Won
1010
Content Type
Profiles
Pokédex
Portal
Technical Documentation
Pages
Tutorials
Forums
Events
Downloads
Gallery
Blogs
Everything posted by theSLAYER
-
Yup, after all the game doesn't care for cloned creatures. And it is possible to cause clones normally. If a person repeatedly hosts the same raid den, and you catch all of them, those in it itself are natural clones.
-
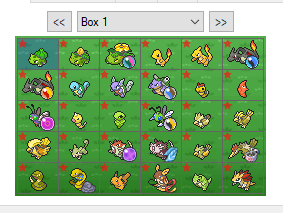
 This one has all the flavors. Note that the decorations were strawberry only, but that is something the batch editor can fix.
 -
can you take a screenshot of the insides of the folder (on your computer) of where you placed the save into?
-
no one knows.
-
 Why don't you just "Save File"? Then drag the files into PKHeX to open it.
 -
Clarification on legendary shiny and legality of these
theSLAYER replied to JollyBlue's topic in Generation 8
then the best you can do is have them legal on PKHeX for SWSH after importing the mons. I've been operating under the assumption they won't mass ban people just for receiving stuff via trade, cause people could receive hacks from surprise trade, and they should know punish unknowing innocent people. If you're worried, leave the track 0, then import the into HOME to have a tracker written. -
I believe that these are the droids you're looking for. You probably got to run them 3 times. (one for each) I also recommended not overwriting your save, and saving the changed save as something else. =HT_Name=UnwantedName .HT_Name=WantedName .TrainerID7=(6 digits) .TrainerSID7=(4 digits) you got to manually set the digits in the brackets. .Geo1_Country=0 .Geo1_Region=0 .... (Geo1 all the way to Geo5)
-
Clarification on legendary shiny and legality of these
theSLAYER replied to JollyBlue's topic in Generation 8
Obtain them legally in the games they can be found (you could also catch em there), then transfer them via Pokemon HOME. -
I’m unsure if you can check it, but forcing it is .PID=$shiny0
-
I’ve removed the illegal file.
-
Previous generations shiny mons are ALWAYS square-shiny?
theSLAYER replied to Dark_Ansem's topic in PKM
HOME doesn’t change their PID. Square shinies can happen too, just not as likely. One exception is, any mon with the fateful encounter would display square shiny, even if their PID isn’t. -
probably. I didn't keep track of what is or isn't locked.
-
It is at the beginning. Do note that if you're playing via emulator, the will be a ton of freezes that you won't be able to get over, and won't be able to advance the story. My advise it: don't play on an emulator. If you aren't playing on an emulator, ignore my warning. Note that asking for a save, rather than playing the game to get one, is typically a sign that people are playing on an emulator.
-
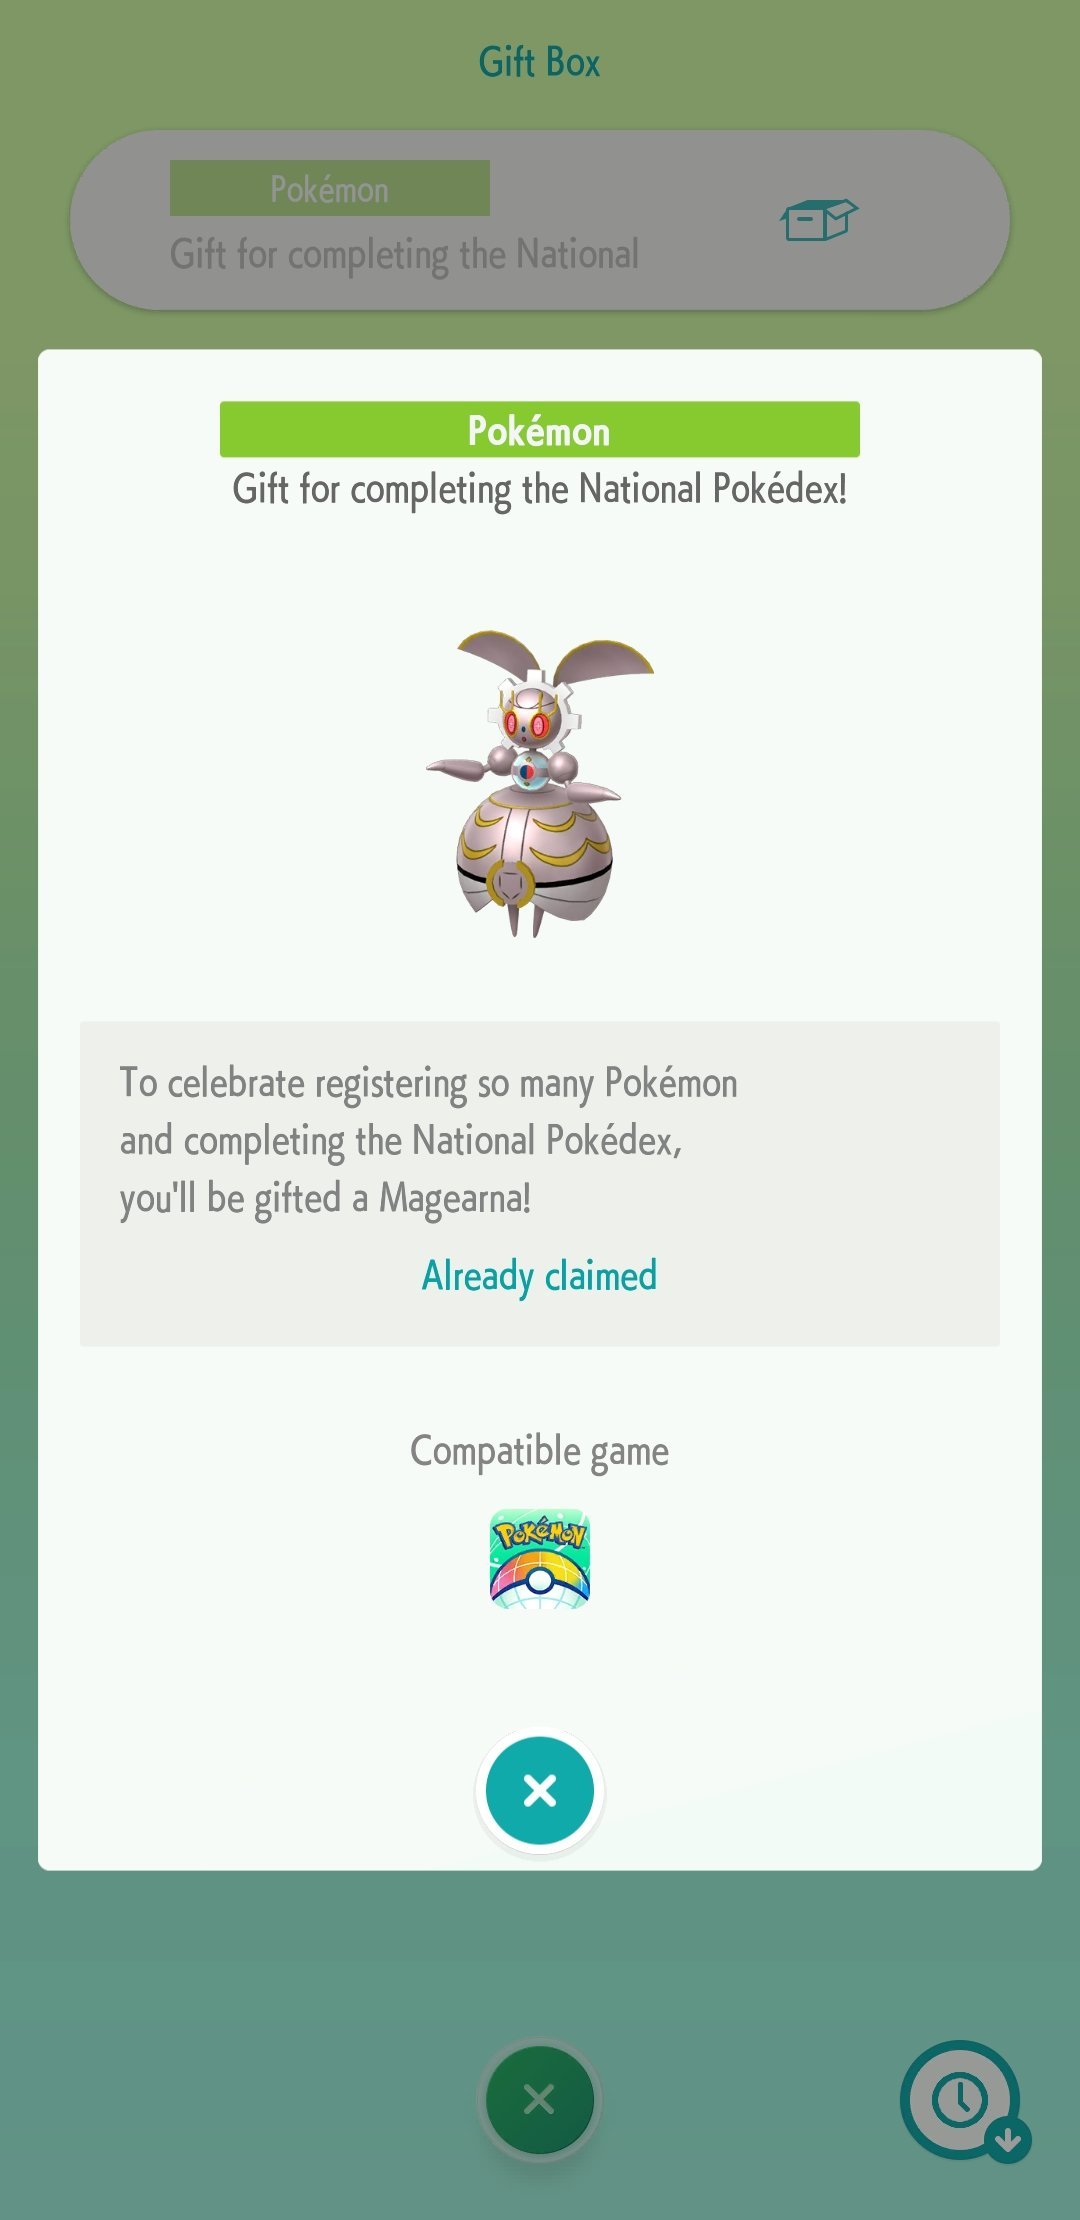
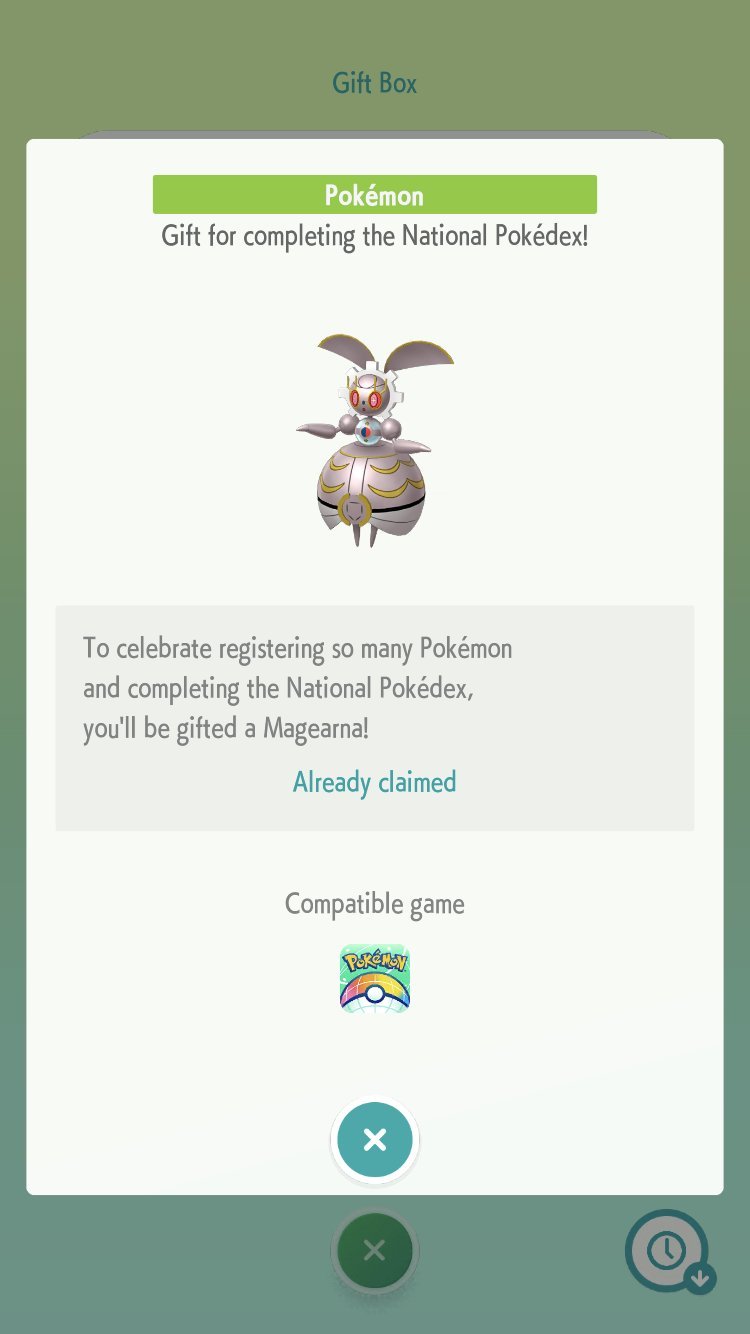
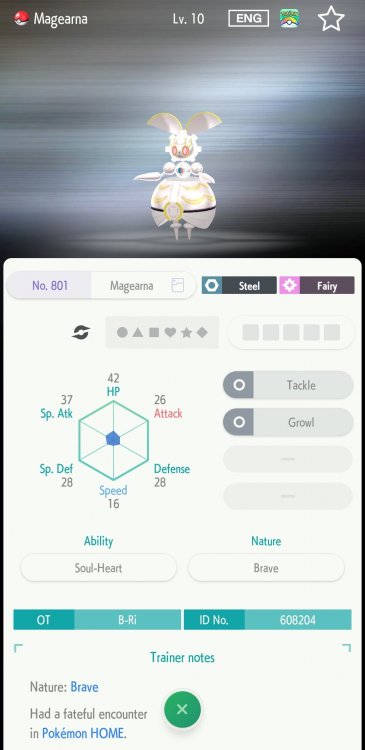
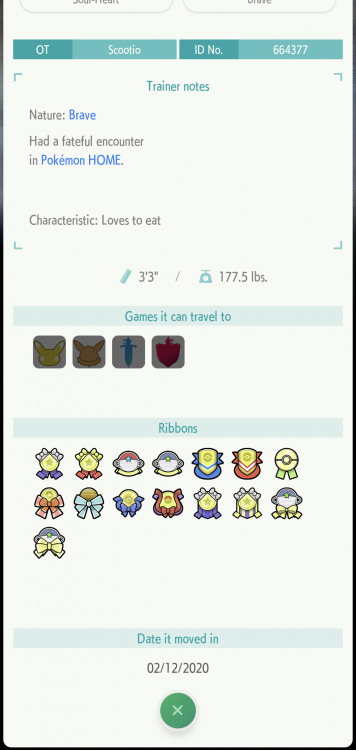
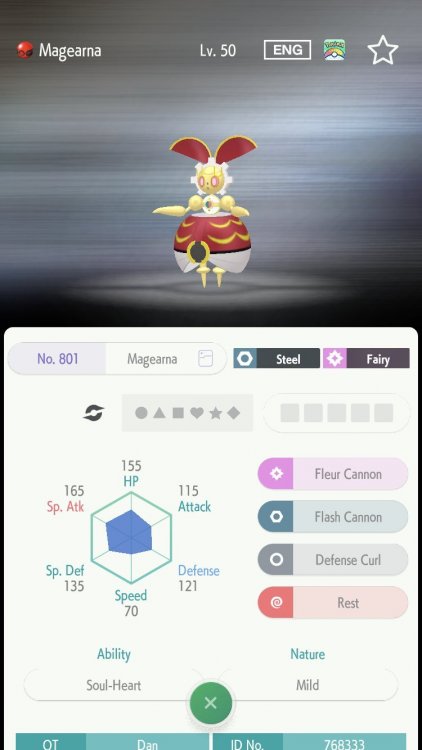
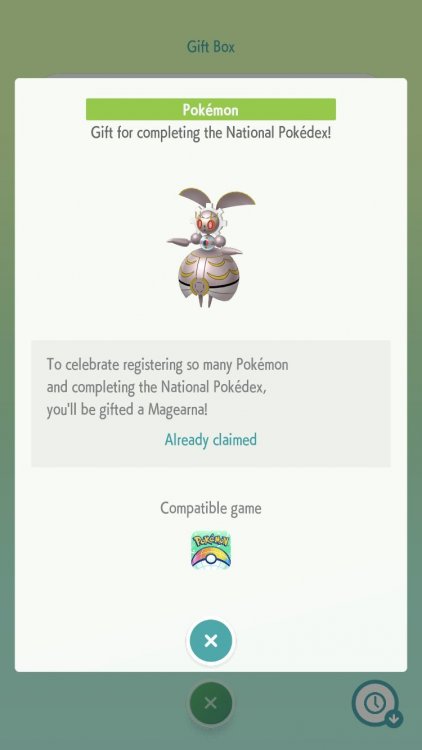
HOME - Original Color Magearna Event
theSLAYER replied to Hello, it's me!'s topic in Event Pokémon News
That’s so cool! It’s kinda sad really, cause I transferred all variants of Unown, but still nothing. I should check if I have that sticker, tho edit: I don't have the sticker. -
the OS version is not the problem, it is the Serial code/model of the Switch.
-
Only if your Switch is of a certain serial (has to be older). You can check this guide on whether your Switch is compatible: https://nh-server.github.io/switch-guide/ If you're going to hack it, use at your own risk.
-
no public method is known.
-
HOME - Original Color Magearna Event
theSLAYER replied to Hello, it's me!'s topic in Event Pokémon News
I'm interested to find out if any iOS users received the Magearna (assuming they didn't complete their dex in the first few hours of launch). If not, we know what's the issue. Also, it's interesting how you're an iOS user but able to see the Unown Challenge XD -
HOME events are not handled by PKHeX yet.
-
Report the event Solgaleo/Lunala/Necrozma issue
theSLAYER replied to HouseAtlantik's topic in Generation 8
yup request a ticket from support. If other readers didn't know this was an issue, here's a barrage of reports we had so far: -
HOME - Original Color Magearna Event
theSLAYER replied to Hello, it's me!'s topic in Event Pokémon News
You'll need a game that supports it in order to dump it.. Also, the lv. 10 and lv. 50 variants of this has been pretty well documented, at least by me. No idea what is the real trigger for this, or whether is it just a glitch, or perhaps device dependent. Waiting on official results. Context: I completed my nat dex on launch day, don't have it. So did Joe Merrick/Serebii webmaster, and he doesn't have it. He later went on to complete all the alternative forms in his HOME, and it didn't give him anything either. Do note both him and I are on iOS versions. I'm curious if any of these reports came from an iOS device. (also, we both can't see the Unown challenge) Anyhow, here's part of what I recorded for Magearna


-
Do you have the file or screenshot from before it was sent, and a file or screenshot from after it was sent? If so, put them in a spoiler and upload them.
-
read:
-
Well, your example was assigning a tracker to a blank tracker Zekrom, hence my passage. If I were to advise you, blank out all the trackers of the clones, then import them into B, to give them all unique trackers, then trade em away to your friends. (if you clone the mon, the tracker is no longer unique. Hence the step below to give them all unique trackers) To go back to my previous passage, B's HOME is expendable. Also as I said, HOME is able to gain access to other saves of profiles on the same console. So going back to my example, inject the save into B, then deposit into B's HOME, then use B's HOME to withdraw into A's PC.
-
@djsquiggy I should have mentioned that B is expendable. So as long as it's not a console ban (not piracy so unlikely), your console will stay safe. While I do not work for GF, I would imagine they won't ban people for receiving mons with hacked trackers or lack of tracker. So many people could be innocent parties receiving stuff by trade, they can't just up and ban all of them. I mean, they have bad hack checks. If they wanted to ban people, then they should have done that in the previous eras, all the people with impossible shiny Hoopas or all mega teams.. Even if they do decide to ban the one who gave the Zekrom a tracker (tho the person who received it may be an unwitting party), ultimately it'll be the B profile who imported it. Thus your A/main profile is safe. I didn't give a long chain of steps just for fun, though I admit I might have skipped a few pages along the way. This explanation should cover most to all bases you were concerned with. But whatever, ultimately do at your own risk.