Checkpoint is a 3DS homebrew application that can backup and restore save files for 3DS cartridges, 3DS eShop titles (including GB and GBC virtual console), and NDS cartridges. This tutorial will walk you through its installation and usage.
Prerequisites
In order to use Checkpoint, you will first need access to CFW. A comprehensive guide on how to set it up can be found here. If you do not have what you need, you cannot use Checkpoint.
What you need
- A 3DS with CFW
- The latest version of Checkpoint. A mirror of the CIA version can be found here. A mirror of the 3DSX version can be found here.
Setup
If your CFW is Luma 3DS, then Rosalina makes it possible to use the Homebrew Launcher as an alternative to the CIA version. You cannot use Checkpoint with the Homebrew Launcher without Rosalina's Homebrew Launcher.
If you wish to use the CIA version:
- Download the CIA version of Checkpoint and put it on your 3DS's SD card.
- Use your CIA installer to install it
If you wish to use Rosalina's Homebrew Launcher:
- Create the folder /3ds/Checkpoint on your 3DS's SD card if it does not already exist
- Download the 3DSX version of Checkpoint and put it the folder you just created
When you are finished, you can proceed to the next step: Using Checkpoint
Instructions
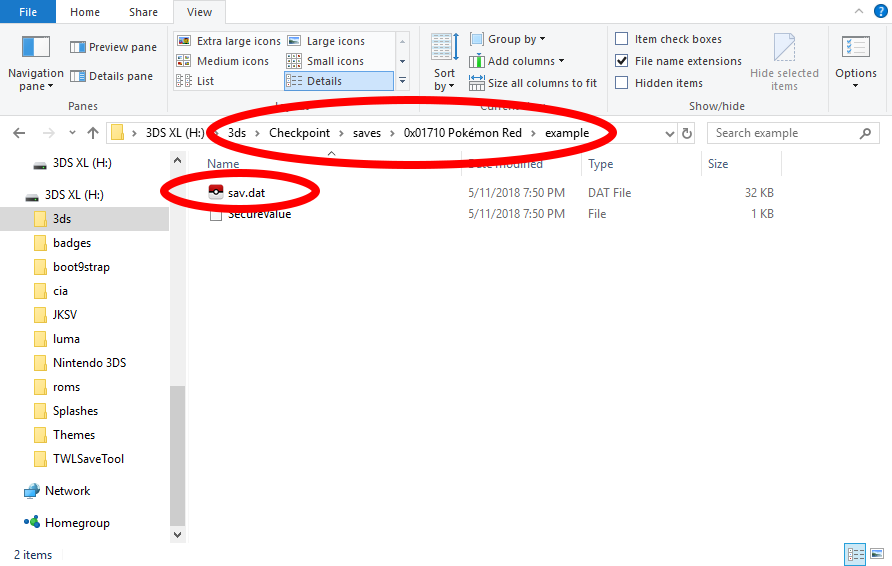
Once you have installed Checkpoint, these steps will guide you through backing up and restoring save files. Once complete, any saves you back up will be located in /3ds/Checkpoint/saves on your 3DS's SD card.
1. (If you're backing up a cartridge save and not an eShop title) Insert your cartridge, and make sure the 3DS menu can see it. This is important because sometimes the system can't read the cartridge unless it's inserted just right.
2. Launch Checkpoint.
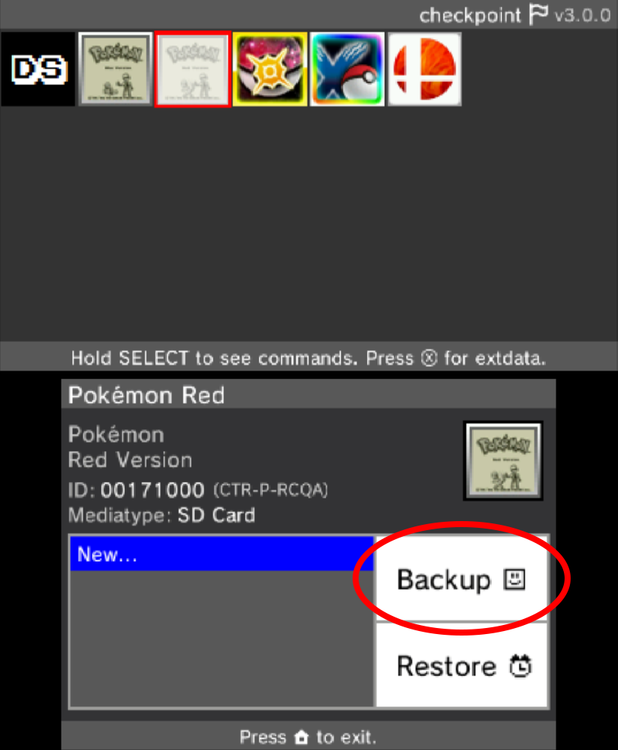
3. Use the DPad to select the game whose save you want to backup or restore. Then press A to select the game.
4. Use the DPad to select the save slot you wish to use (the selected slot has a blue background). If backing up the save, you can select "New..." to create a new slot. Be careful not to overwrite anything important.
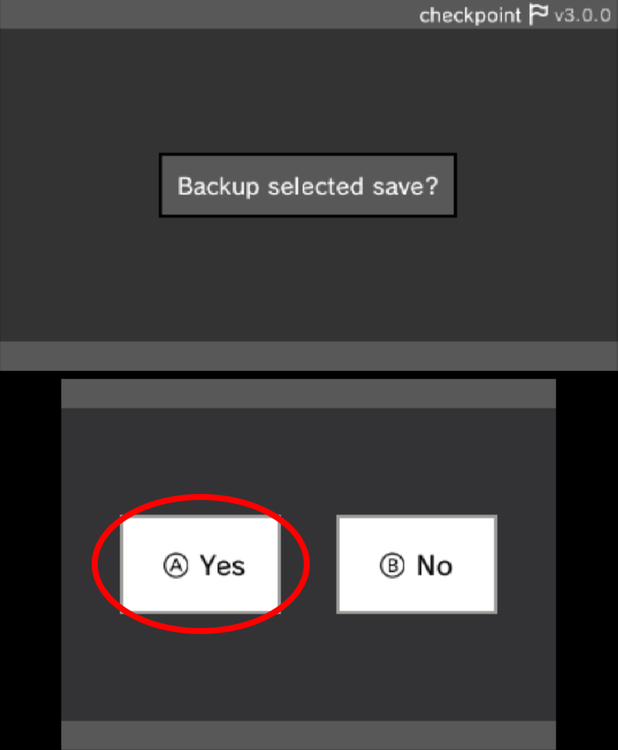
5. Press either the Backup or Restore button on the touch screen.
7. If you chose to create a new save slot, use the on-screen keyboard to give it a name, then press "OK".
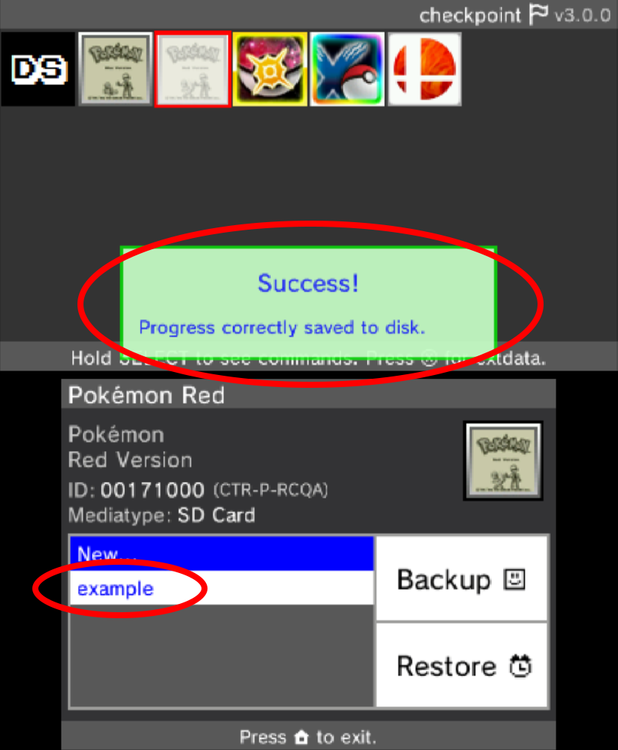
8. If the save was exported correctly you should see a success message appear.
9. Your backup is complete. Exit Checkpoint, and your save should be located on your SD card under /3ds/Checkpoint/saves/(your game)/(your save slot).
10. MAKE A BACKUP OF THIS FILE BEFORE USING OR EDITING IT WITH ANY SAVE EDITORS.
EXTRA. Things to take note:
1. Your file in the folder MUST be named main
2. There cannot be other files in the same folder your import from (such as main.bak)
Credit to @NinFanBoyFTW for the screenshots.


Recommended Comments
Create an account or sign in to comment
You need to be a member in order to leave a comment
Create an account
Sign up for a new account in our community. It's easy!
Register a new accountSign in
Already have an account? Sign in here.
Sign In Now