Search the Community
Showing results for tags 'tutorials'.
-
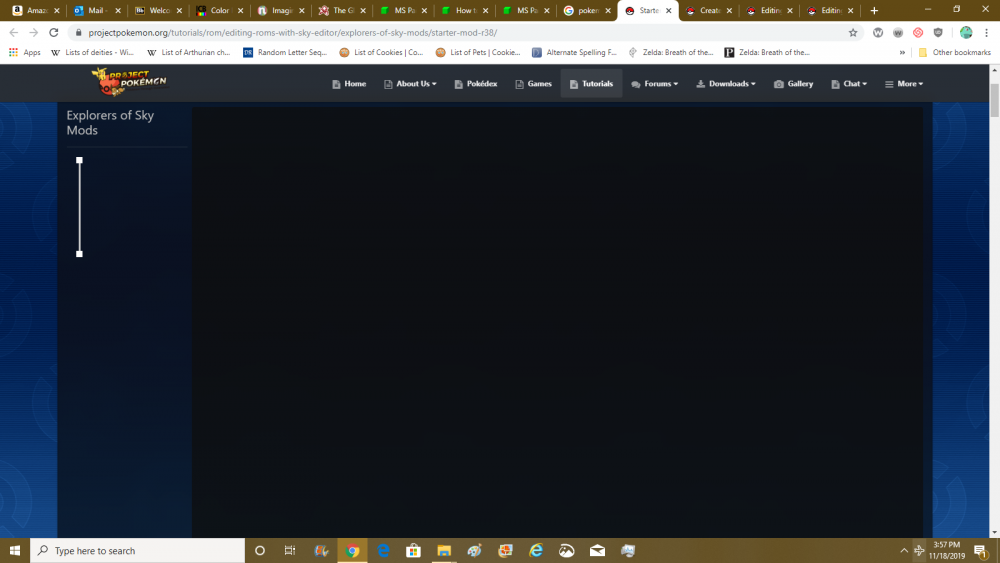
In the tutorial forums, the posts aren't showing up. It's just a blank screen. The first chunk of the tutorial is just no there. How do I fix this?
-
- bug
- potential bug
-
(and 2 more)
Tagged with:
-
this is just gonna be a link dump right now. i'll organize later... General File Formats/Tutorials Graphics/Text Editing Sound Editing Important Tools Edit: Head over to the ROM Editing Directory to find your files even faster.
-
Hi all, my name is Zappo23! This is my very first tutorial, a complete guide to PokeGen for beginners. I tried to answer as many questions as possible with this tutorial, explaining every part with painstaking detail. This is the first tutorial that I'm posting. The reason I chose to make a PokeGen tutorial is that information about how to use it seemed too scattered. So, I decided to make a full-fledged tutorial. In Word, it's 24 pages long :biggrin:. But luckily for you, I have it here in PDF format hosted by Scribd. Complete with pictures and examples, this tutorial is sure to answer any questions you might have about a particular aspect of PokeGen. Also, if you read my tutorial and see that something is missing, or that any information is incorrect, please do not hesitate to tell me because I will fix it and update it as soon as possible after such occurrence. This link will redirect you to Scribd.com, which is a safe and secure, FREE document hosting site. Also, the conversion was kinda bad so the hyperlinks to downloads are THERE, it's just...their lines are ABOVE them instead of beneath them. Basically, every time you see a blue line, click underneath it:biggrin: . My next tutorial is going to be ShinyGTS. I also noticed about ShinyGTS that solutions to several different types of problems are also scattered around the web, so I am going to make it my personal mission to compile all the information I have learned into one comprehensive tutorial and troubleshooting guide. I hope you guys enjoy my tutorial!
-
I got some requests to make some tutorials, so I am. They take a little while to do, and I quite frankly am not very good at writing tutorials. I will add more every so often... each step usually means a new layer. Some linked images may be resized and blurry. Simply enlarge it with the magnifying glass in the browser. Or any other "full size" viewer. Resources: Ender's brush pack (disclaimer: not all made by me, I take no credit. Do not redistribute for commercial purposes) Photoshop CS or higher Fonts from dafont.com To install new fonts, (on a PC) go to your control panel and find the fonts folder. Simply click and drag the font file into it. To install new brushes onto PS, select the brush tool and go to "load brush." Tut 1: Garchomp Sig Resources: C4D (made by Stinky 666) Render (Given to me by patron, low quality, try to find another one) Dark Crystal Font (not made by me) Visitor Font (not made by me) step 1. Make a new PSD that is 500 px long and 150 px high Slap that render down in the middle of your layer. Make a duplicate layer of the render and hide it until later. Erase around the edges a bit (particularly the legs) with a faded brush (the circular ones that are kinda fuzzy around the edges, they come with all PS software). Give the render and outer glow Normally, I would wait until a bit later (until a BG) to choose where to erase, just try to make it look like the render is obscured/blended by the BG. step 2. Put a diamond gradient (purple and maroon...ish) around the render as if the render is glowing. Put it behind the render layer and make the gradient's filter "overlay." Step 3. With grunge brushes set for the same colors as the gradient, make a hazy purple background and then go over it with the maroon. Do this is many times as you want. Make this the bottom layer. step 4. With the starry night brushes set to black, go over the image a bit. Erase around the render and set it to overlay. Put it below the render. You may have noticed by now that the render is not in the picture the link gives you, this is merely to show you how the layer should now look. step 5 Go to the duplicated render layer and change it to a complete silhouette anyway you want to. I just turn brightness all the way down in image>adjustments Set it to overlay and move it a bit up and to the right of the render, making a cool shadowy effect. put it behind the main render. step 6. Slap on some more cool black overlay brushes!!! YAY! CRAZINESS! Put this behind the main render too. Step 7. Y'know what? While we are here, add yet another layer of tasty black, overlay brushes. People love those things I hear. Oh yeah. BEHIND THE RENDER! Step 8. Throw down some black faded brushes to add to the blending. Make it overlay above the render. It helps to paint the layer while it is being filtered as overlay already so you can see the effects and make them favorable. Step 9. All the new layers are above the main render now, fyi. Throw in some pimpin' bulls-eye brushes as a black overlay. Hooray! Step 10. Make a new layer (you should be doing this anyways as this is a new step) and go up to image>apply image and hit OK. go to filter>brush strokes> dark strokes (you can also do this in the filter gallery: filter>filter gallery) now erase with a faded brush loosely around the layer to make the image blend even more. Note that your image will not look like the linked one, because you will most likely have something behind it. I just isolated this layer to show my erasing. Step 11. take a black grunge brush and go around the bottom and side borders. This is basically a way to cheat in the lighting of the image. But remember, there is a thin line between cheating and being resourceful! Step 12. Ok, to be honest, I forgot what I did here (I am looking at the PSD of the file and remembering how I did the layers). But I believe I did another image>apply image, then added ANOTHER dark stroke filter with settings slightly modified (see linked image). Erase only a little bit around the layer and particularly the render until you like what you see. Step 13. add a nice n' cool photo filter, make it as intense as you want. (Click the little circle that is half white and half black) Step 14. Take some pretty comet brushes and make them white overlays. The linked image shows the layer before it is overlayed, but again, it is always best to set the layer filter to overlay BEFORE painting so you can see what the effects are. Step 15. Copy and paste the C4D into the image. Resize it as needed to get a hefty chunk into the layer. Make the layer a "screen" in layer effects/filters. Step 16. Put a little red shine over the eye as a screen. DEMONIC!!! Step 17. In "Dark Crystal Outline" font in the color white, 24 pt, with anti alias "sharp" type in the desired text. Give it a purple outer glow. I chose the patron's requested name, of course. Step 18. Type in any subtext in Visitor font. 14 pt, with NO aniti aliasing!!! make it overlay and slap on a nice red outer glow. Notice that I put mine at the end of a black line so as to draw the eye to it. You can go back and add a black line anyway you want (I believe I just filled a rectangular selection with black on one of my many "black overlayed brushes" layers behind the render). Step 19 (I forgot it ) The Border: Create New Layer Press Ctrl+A to Select All Click Edit > Stroke with 2 pixels of black on the INSIDE Set blending mode to Overlay Yay! You're done! Now to rest my arm to ward off carpal tunnel!


