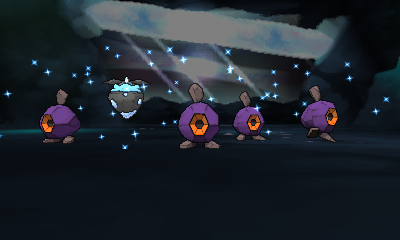
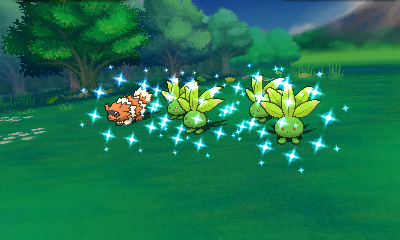
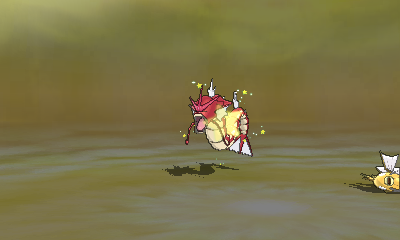
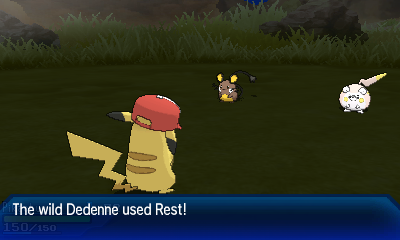
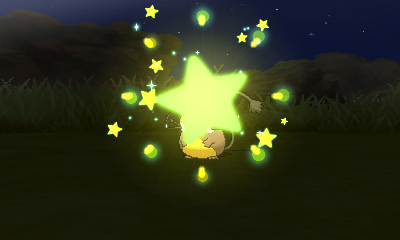
Images above are from XY, ORAS, SM and USUM, respectively.
Disclaimer
This guide requires a hacked 3DS, and will use Luma3DS LayeredFS to achieve the desired result.
For non-shiny locked entries, this shiny patch will shinify wild encounters, static encounters, gifts, fishing, eggs when received from breeder, and wonder card redemptions.
Note: this ROM patch may affect some event redemptions that were not meant to be shiny. Wonder cards that have preset/fixed PID may get their PID overwritten and end up being shiny. Those specific cases will be illegal. (I experienced this with Ash-Greninja)
Unlike shiny patches of previous generation games, these Pokémon retain their shininess even when transferred to games that do not have the shiny patch.
While PK3DS does have a shiny rate editor, this guide is for people who somehow can't get it to work (maybe computer compatibility issues, unable to extract all the necessary files from the games, etc), or simply doesn't like to use it.
We will not be providing any exefs.bin or code.bin, as linking to or providing data files extracted from ROMs are against our forum's rules.
However do not fear, as the steps regarding how to extract them from your own purchases, are included in this guide.
Additional Misc. Info
While it is possible to compile the edited code.bin into a .3DS/.cia, that is not the focus of this tutorial.
Do note that if you're running a version of the game that is updated (i.e you have the update patch installed), you'll have to dump the exefs.bin of the update patch instead. Instructions for this step is included below as well.
If you have the update patch installed, and you use the exefs.bin/code.bin from the main game (instead of the one in the update patch), it will definitely result in a crash when the game is being loaded.
Additionally, this patch will not work on any entries that's shiny locked, and it also won't work on entries that use a different method of generating their PIDs, such as non-legends/non-UB wild Wormhole encounters, Partner Cap Pikachu, Poké Pelago etc.
The 4 easy steps:
1. Extracting the exefs.bin
2. Decompressing exefs.bin to obtain the decompressed code.bin
3. Performing the edit
4. Pasting the code.bin into Luma
Extracting the exefs.bin
1. Have GodMode9 on your SD card.
(gm9 folder on SD root, GodMode9.firm in luma/payloads)
2. Hold down the START button while booting 3DS, and launch into GodMode9
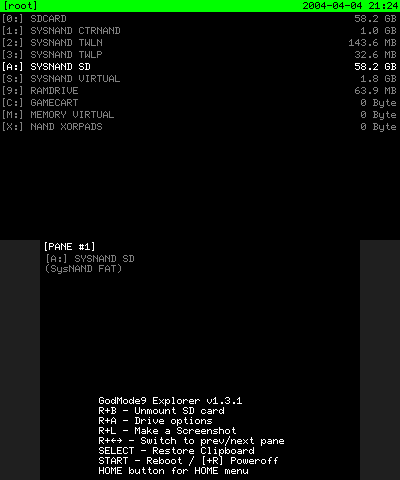
default screen for the [root] folder
3. On top screen, go to SYSNAND SD, and enter the folder
I am not sure if EMUNAND SD actually appears as an option if you have EMUNAND.
If it does, and your game/update is installed on EMUNAND, then go to that option.
Also, if your only copy of the game is on a cart AND if you play the game without any game updates installed, follow the steps (3a to 3f) in the spoiler below.
Else, ignore the content in the spoiler directly below and go to step (4).
3a. With the cart inserted, top screen, open GAMECART
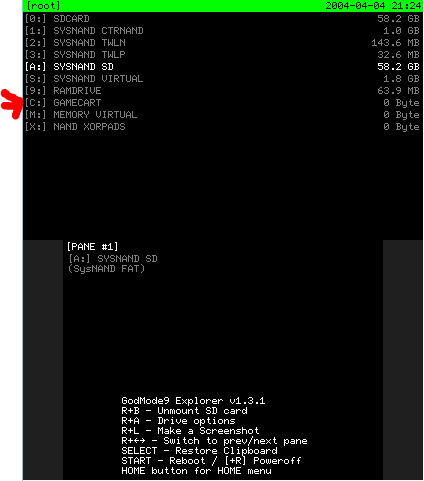
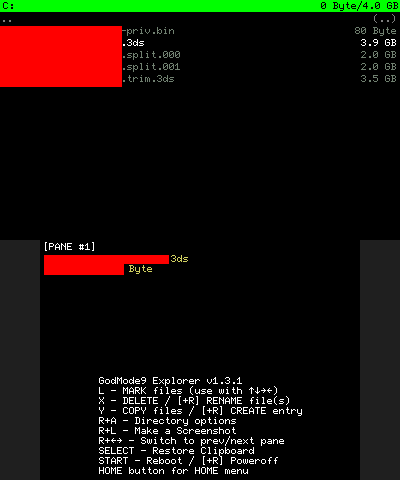
3b. Top screen, choose {name}.3ds and press the A button
(not the -priv, trim nor split one)
3c. Bottom screen, NCSD image options...
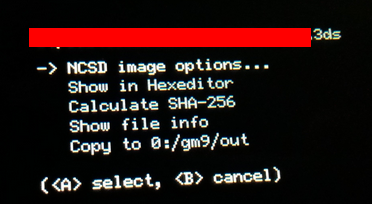
3d. Bottom screen, Mount image to drive
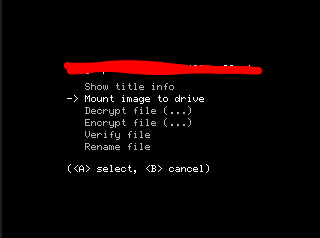
3e. Top screen, open content0.game folder
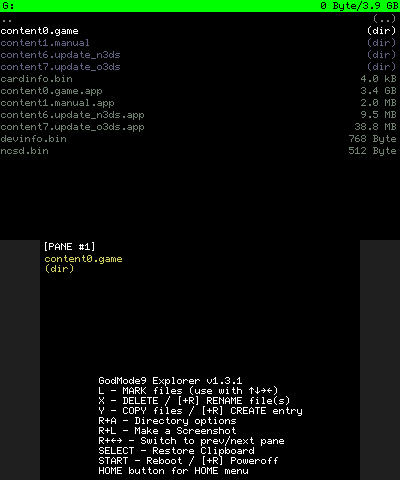
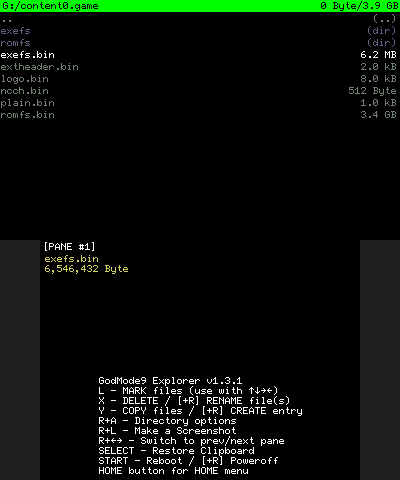
3f. At this step, exefs.bin can be seen. Skip to step 11 to continue.
4. On top screen, navigate to title, and enter the folder
5. On top screen: if you're playing the game without a game update, navigate to 00040000
If you're playing the game and have a game update installed, navigate to 0004000e
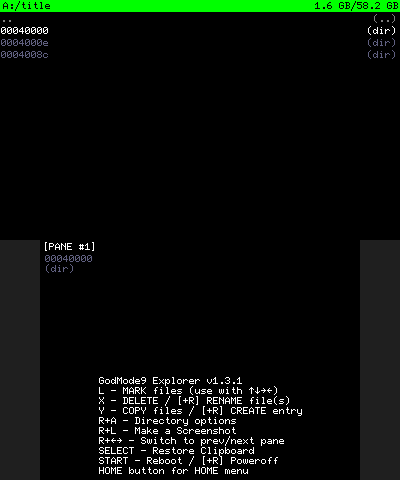
inside the title folder.
6. On top screen, navigate to the folder that has the game ID that represents the game you're trying to extract from:
| Game Name | Game ID |
|---|---|
| Pokémon X | 00055D00 |
| Pokémon Y | 00055E00 |
| Pokémon Omega Ruby | 0011C400 |
| Pokémon Alpha Sapphire | 0011C500 |
| Pokémon Sun | 00164800 |
| Pokémon Moon | 00175E00 |
| Pokémon Ultra Sun | 001B5000 |
| Pokémon Ultra Moon | 001B5100 |
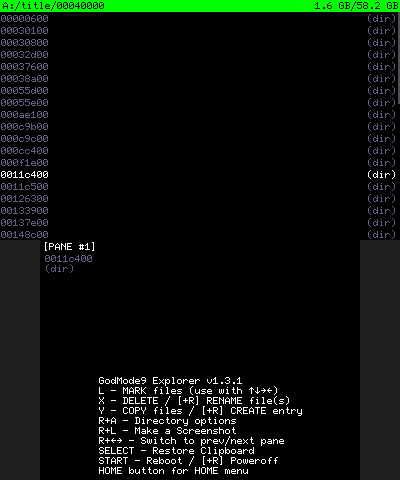
Example of hovering over Omega Ruby folder
7. On top screen, enter the content folder
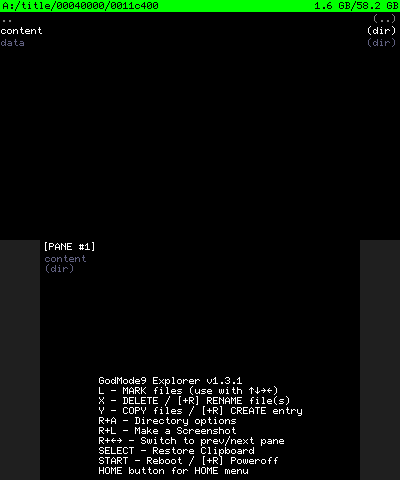
example of the inside of Omega Ruby folder
8. On top screen, go to the {some digits}.app that has a larger file size, and press the A button once. Options will appear on the bottom screen.
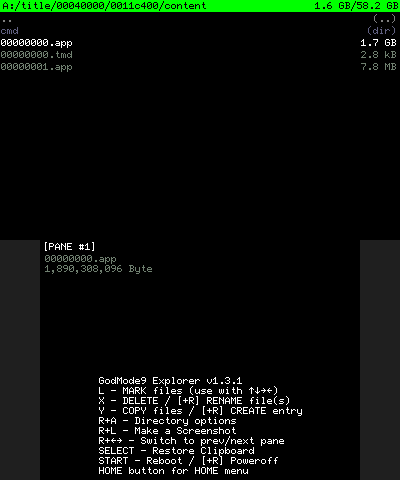
The {some digits}.app can be seen
9. On bottom screen, select NCCH image options...
10. On bottom screen, Mount image to drive

11. On top screen, navigate down to exefs.bin, and press the Y button once. (This copies the exefs.bin file)
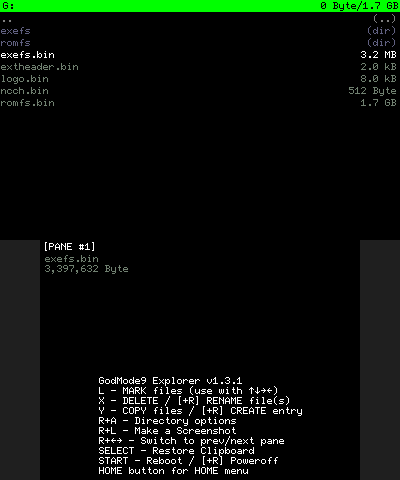
Hovering over exefs.bin on top screen, and button options on bottom screen
12. Keep pressing the B button until you get back out into the root folder. (Top screen, shows [root], SDCARD, SYSNAND etc)
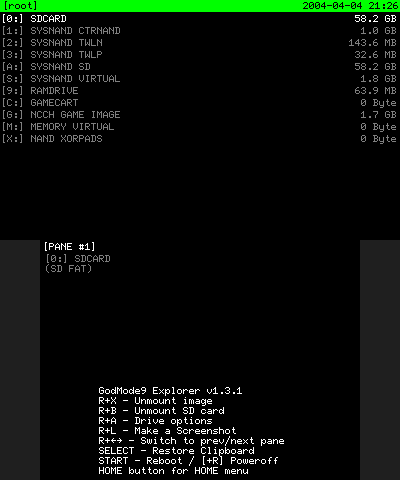
Back at [root] folder, hovering over SDCARD
13. On top screen, enter SDCARD
14. Choose a folder you want to paste into, then press the Y button once. (This pastes the exefs.bin into the folder you entered)
Bottom screen will ask you if you want to paste the file into this folder. Press the A button once, to confirm.
15. Once pasting is done, hold down both the R bumper/shoulder button and the START button simultaneously, to shutdown the 3DS.
16. Now, take the SD card out of your 3DS and copy the exefs.bin file over onto your Computer.
Decompressing exefs.bin to obtain the decompressed code.bin
1. On your computer, create a CTRtools folder.
2. Download CTRtools and extract it into that folder.
3. Paste the exefs.bin into the CTRtools folder.
Ensure the file is named exefs.bin (all small capitalization)
4. If you're running windows (or if you have Wine on your Linux machine), I've prepared a batch file to go along with this tutorial. Paste it into the same CTRtools folder.
extract exefs.bat
If you're not on windows (or if you don't have Wine on your Linux machine), you can ignore the batch file.
At this stage, the folder will looks like this:

5. If you're on Windows (or Wine+Linux), run the extract exefs.bat.
If you're not on Windows (or no Wine+Linux), simply use a command window to run:
ctrtool.exe -t exefs --exefsdir=exefs exefs.bin --decompresscode
6. Check that an exefs folder appeared, and there's a code.bin inside that folder.
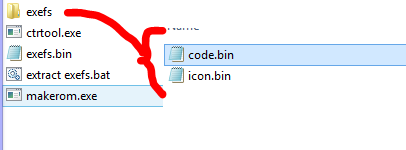
Performing the edit
1. Download a Hex Editor. I'll be using the program HxD
2. Open the code.bin in the Hex Editor.
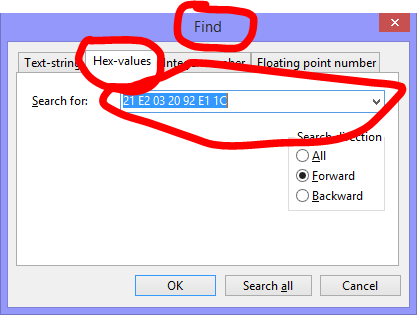
3. Find/Search for this string, in Hex Values/Bytes
String: 21 E2 03 20 92 E1 1C
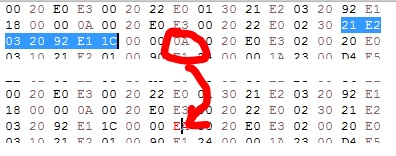
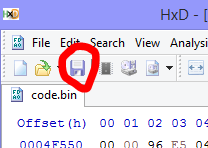
4. Once found, modify the closest 0x0A to 0xEA (specifically, it'll be the same distance away, as per seen below)
5. Now save the code.bin
Pasting the code.bin into Luma
1. With your 3DS' SD card plugged into your computer, navigate to the folder Luma/titles
If the folder titles doesn't exist, create it inside the Luma folder.
2. Check that the folder that named after your wanted game ID exists. If the folder doesn't exist, create it.
| Game Name | Full Game ID |
|---|---|
| Pokémon X | 0004000000055D00 |
| Pokémon Y | 0004000000055E00 |
| Pokémon Omega Ruby | 000400000011C400 |
| Pokémon Alpha Sapphire | 000400000011C500 |
| Pokémon Sun | 0004000000164800 |
| Pokémon Moon | 0004000000175E00 |
| Pokémon Ultra Sun | 00040000001B5000 |
| Pokémon Ultra Moon | 00040000001B5100 |
Here's a look at what my folder looks like:
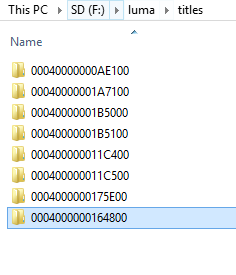
3. Go into the folder that has your game ID, and paste the edited code.bin into it.
Example:

4. Reinsert the SD card into your 3DS
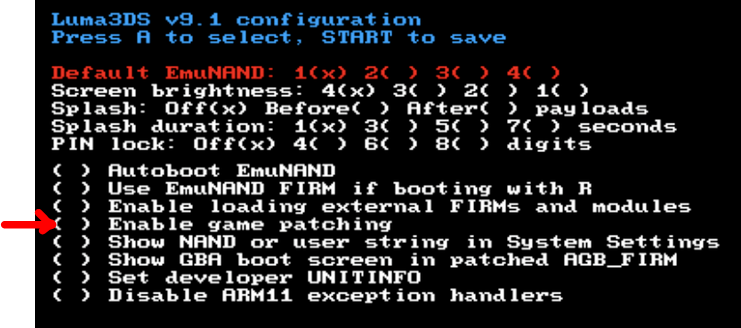
5. Hold down SELECT button while booting 3DS.
Ensure this option is checked.
Congratulations, shinies await you!
Original source of this method is from our one and only, @SciresM.
This method was adopted from his tweet back during Pokémon Sun & Moon's release.
It took me a while, but I've come to realize the leading bytes were exactly the same across the 3DS Pokémon games, making this method work for Gen 6 and 7 3DS games.
POST TUTORIAL EDIT:
It appears extracting the .code.bin directly from the exefs folder in GodMode9 works, bypassing the entire requirement of ctrtools
-
 1
1
-
 3
3

Recommended Comments
Create an account or sign in to comment
You need to be a member in order to leave a comment
Create an account
Sign up for a new account in our community. It's easy!
Register a new accountSign in
Already have an account? Sign in here.
Sign In Now