

As per previous section, it assumes you're trying to get Pokémon from language restricted routes into different languages.
Game A will be the game with the language restricted route, and Game B will be the intended recipient. Once you're familiar with this, you can do the transfer every which way, at your own risk of course.
Be prepared that your Pokéwalker's data and records will be overwritten if Game B has never been connected to a Pokéwalker, and/or if Game A isn't the game your Pokéwalker is registered to.
(To keep your current Pokéwalker progress and settings, both must have connected to any Pokéwalker at least once. This is different from the matter of unlocked routes; unlocked routes is tied to your game, not the walker.)
1. Launch Game B (intended recipient), and attempt to communicate with the Pokéwalker.
If you see only one option (same as the screen below), it means that the current game hasn't connected to a Pokewalker before. The warning at the start of this section applies.
Possible screens (single option or multiple option)
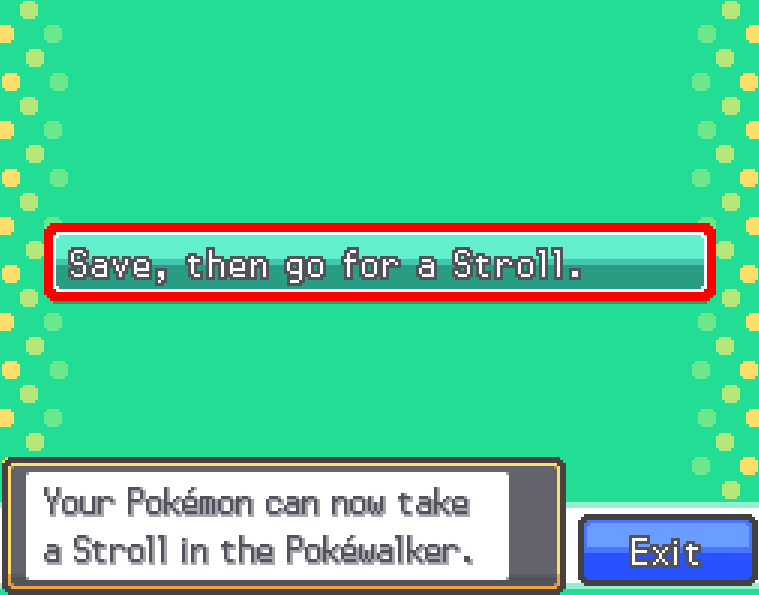
Open the spoiler based on what you see:
You see a single option:
Quote1-A-1: Try to send a Pokémon for a stroll, and choose a random route.
If you get the screen below, proceed to step 1-A-2, else proceed to step 1-A-7.
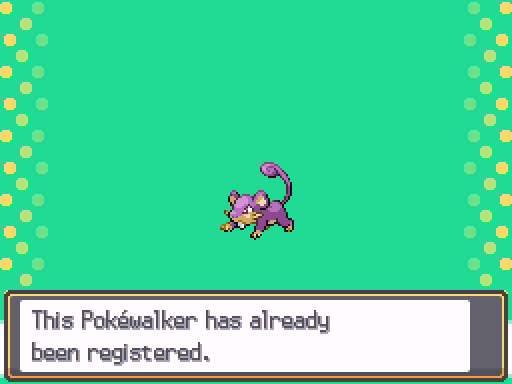
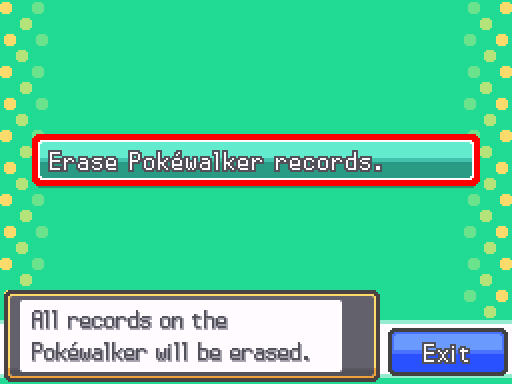
1-A-2: This will result you in a loss of current Pokéwalker progress. While in the Pokéwalker menu, press and hold the Down button on the D-Pad, together with the X button, and the L shoulder button, together. You will see a warning about your Pokéwalker records.
1-A-3: Select "Yes"
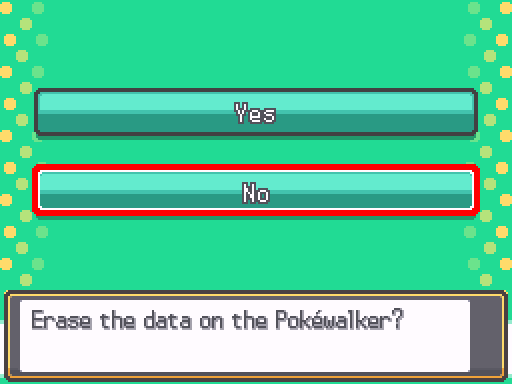
1-A-4: Confirm that you'll erase the data.
1-A-5: Follow the instructions to allow the Pokéwalker connect the cartridge. If you're on the 3DS, keep in mind the cart is at the base of the unit, not the back.
1-A-6: Now, send a Pokémon for a stroll, and choose a random route.
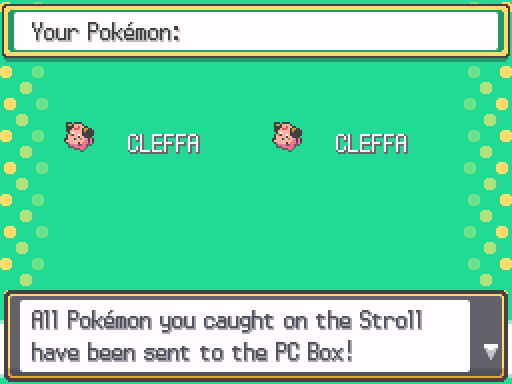
1-A-7: After you've successfully sent in a Pokémon, you'll be push back to the title screen. Enter and select Connect to Pokéwalker1-A-8: Select Return from a stroll and receive the Pokémon.
1-A-9: Close the game, and proceed to Step 2
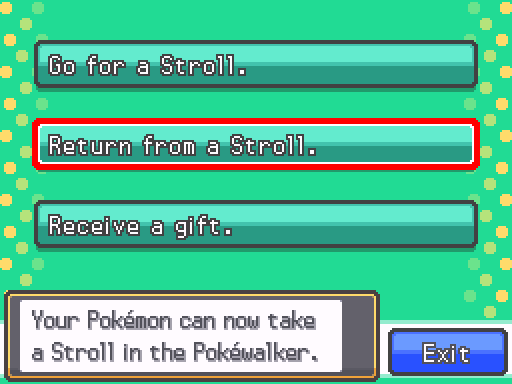
You see multiple options:
Quote1-B-1: Close the game, and proceed to Step 2
[all we needed is to check that is that the Receive a gift option is unlocked]
2. Launch Game A (game with the language restricted route), and attempt to communicate with the Pokéwalker.
Possible screens (single option or multiple option)
Open the quote below to complete step 2
Quote2-A-1: Try to send a Pokémon for a stroll, and choose choose the intended route (the language restricted route).
If you get the screen below, proceed to step 2-A-2, else proceed to step 2-A-7.
2-A-2: This will result you in a loss of current Pokéwalker progress. While in the Pokéwalker menu, press and hold the Down button on the D-Pad, together with the X button, and the L shoulder button, together. You will see a warning about your Pokéwalker records.
2-A-3: Select "Yes"
2-A-4: Confirm that you'll erase the data.
2-A-5: Follow the instructions to allow the Pokéwalker connect the cartridge. If you're on the 3DS, keep in mind the cart is at the base of the unit, not the back.
2-A-6: Now, send a Pokémon for a stroll, and choose the intended route (the language restricted route).
2-A-7: After you've successfully sent in a Pokémon, you'll be push back to the title screen.2-A-8: Close the game, and proceed to Step 3
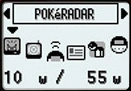
3. With the Pokémon on the stroll, you can proceed to encounter Pokémon or dowse for items.
source: https://pokemon.fandom.com/es/wiki/Pokéwalker
Options on the menu (from Left to Right): POKéRADAR, DOWSING, CONNECT, TRAINER CARD, POKéMON & ITEMS, SETTINGS
If you want to know the the options do, check this page.
4. Once you have satisfied with the Pokémon and/or items you've found, you can send them over.
Launch Game B (intended recipient), and attempt to communicate with the Pokéwalker.
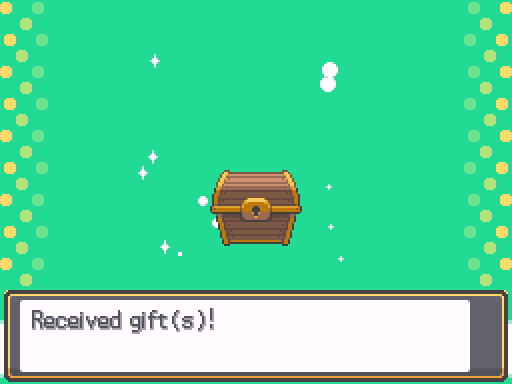
If you've been following this tutorial right, you should be greeted with this screen:
4. Select Receive a gift, follow the instructions on the screen, and you will receive the stuff!
Recommended Comments
There are no comments to display.
Create an account or sign in to comment
You need to be a member in order to leave a comment
Create an account
Sign up for a new account in our community. It's easy!
Register a new accountSign in
Already have an account? Sign in here.
Sign In Now